

First things first… BUNDLE UP, it’s going to be cold out there.
I know, I know, a warm jacket, gloves, boots, hat… the usual, but there are many minor details that make the experience much more enjoyable if you are prepared, not just knowing how to expose you scene…
So, let’s get started…
Check list:
Clothing
- Long underwear
- At least 2 additional layers of clothing with the outer layer being water resistant or water proof. Winter snow gloves and fingerless under gloves or cross country ski gloves. If it’s going to be windy or snowing heavily, consider ski goggles as well.
- High boots (Sorel’s are great) with your pants over the tops of the boots to stop snow from getting in to your boots.
- Warm socks!!!
- A good warm hat with ear covers or a warm ear cover head band for under the hat
- A warm scarf
- My wife likes having those chemical warming packs for long stays outdoors, too.
- If the day warms up you can peel off layers as you go, but don’t leave them behind in the snow.
Camera Gear
- A light waterproof camera back pack or bag for all the following:
- Camera & lens (film or digital CF or SD cards)
- EXTRA BATTERIES!!! (Cold weather shortens their longevity)
- Light meter (if possible)
- Tripod (light weight carbon if possible)
- Plastic bag or camera covers, just in case
Food & Drink
- Thermos with water or hot chocolate
- Cliff bars or the like
- You will be excited, and working hard just moving around, so be sure to eat for energy and drink to stay hydrated, if you are at altitude this is even more important.
Now for the good stuff….
- Do not just walk out of your warm house or car and expose your camera and lens to the cold weather. Why? Because you will likely get condensation on your equipment, your lens in particular, and that may then freeze moisture on your lens. So let your gear cool off slowly (the reverse also applies for hot humid air in summer leaving an air conditioned environment… but that’s for another post).
- Avoid shooting on AUTO or you will get dark grey or blue colored snow scenes. I know, you can fix this in Photoshop, but you are here to know have to do it right from the start. You see, the camera, when set on Automatic looking at a landscape sees the snow as grey and thus compensates by under exposing the scene… Not good. But there are ways around this. So read on.
- Plan your excursion for a limited exposure in the elements until you know your physical capabilities working in winter conditions, you will be surprised at how tired you can get lugging a camera pack and tripod in cold weather and deep snow, so take it easy and enjoy the experience.
- Watch where you walk, assume snow is hiding slippery ice beneath, it may be deep or hiding a hole or object that would make a quick step a dangerous one, especially if you are not familiar with the location.
- Use a tripod if you are forced to shoot slower than 125th of a second with a wide angle or normal lens, and for sure if you are using a longer lens. Put your tripod in the snow and push it to firm ground on all three legs before putting your camera on it.
- If you do not have a quick release system for your camera/tripod, do consider getting one. It’s no fun screwing and unscrewing a camera onto a tripod in cold weather.
- Set your camera’s color balance to daylight for sun, to cloudy for overcast depending on the scene.
- You can set your camera on Aperture-Priority exposure and use Matrix metering on any DSLR camera and your camera should balance out the scene. This works great when the sun is out but it is another matter when it’s overcast or cloudy. This will likely give you a blue cast to the scene
- So when shooting a cloudy scene, increase your exposure at least +1/3 to 2/3 and check your LED display for results.
- Best Exposure Solution? If you use an incident light meter with a white dome be sure to aim the meter dome at the camera in the same lighting as the scene you are shooting… this reading will be perfect for your shot. Just make sure you are not getting too much snow bounce on the meter that is not on the scene… this is the best way to expose snow scenes if you use a light meter.
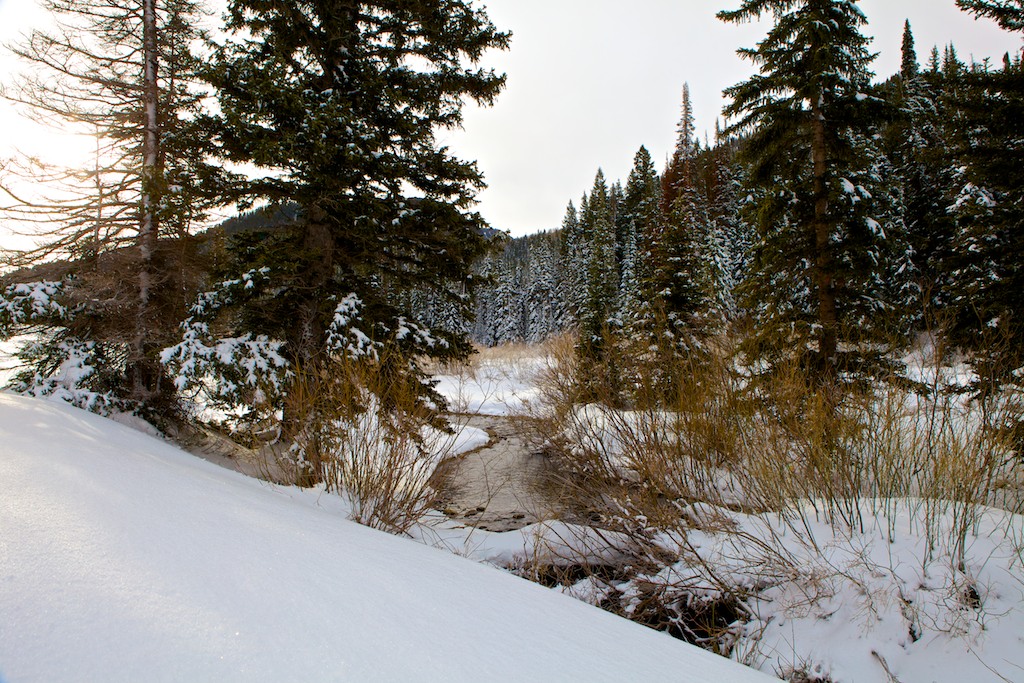
- I don’t feel there are any bad times to shoot in the snow, but early and late light are beautiful for soft light or casting shadows and color. Remember, colder air is very clean and makes colors very bright. There will be details in your shadows from snow reflections and a softness to the snow that looks like velvet.
- Watch for light reflecting off of snow or crystals which can create beautiful detail in what sometimes looks like just a blanket of white.
- Look for details and closeups of objects in the snow, from branches, streams, fences, barn wood etc…
- Think in Black & White too. Sometimes a rolling hillside of snow may look all white, but when the sun hits it and shadows form, well, magic happens. You can take what little color there may be in a scene out in post production and make a stunning Black and White image.
- When not shooting, keep your camera in your bag and always watch for snow landing on your lens when snowing or windy.
- When you get back inside, remove your Digital card, lay out your gear on a towel and cover it with another towel to warm up slowly to avoid reverse condensation again. Once at room temp, pack it up for another day.
- Download your images and see how you did, trust me, you are going to learn from the experience and want to head out again to do better.
Finally, Subscribe to my HDSereneScapes® films platform and watch “Winter Snow” as often as you like for just $4.99 a month for a trip out to the mountains of Colorado and Utah.
Now get out there before it melts… and stay warm.
